
I know you all have seen these before, maybe even an ombre style one, but mine is super easy and little something to liven up your Valentines decor(well if you have Valentines decor). I like the way mine turned out and I'm sure you'll like yours too if you choose to make one for your house!

Here's what you'll need:
~Paint sample squares (you know the little sample colors that you can take for free)
~Foam board, poster board, canvas or any other sturdy background you choose(I used foam board)
~Glue
~Scissors
Now that everything is gathered up, we can get started.

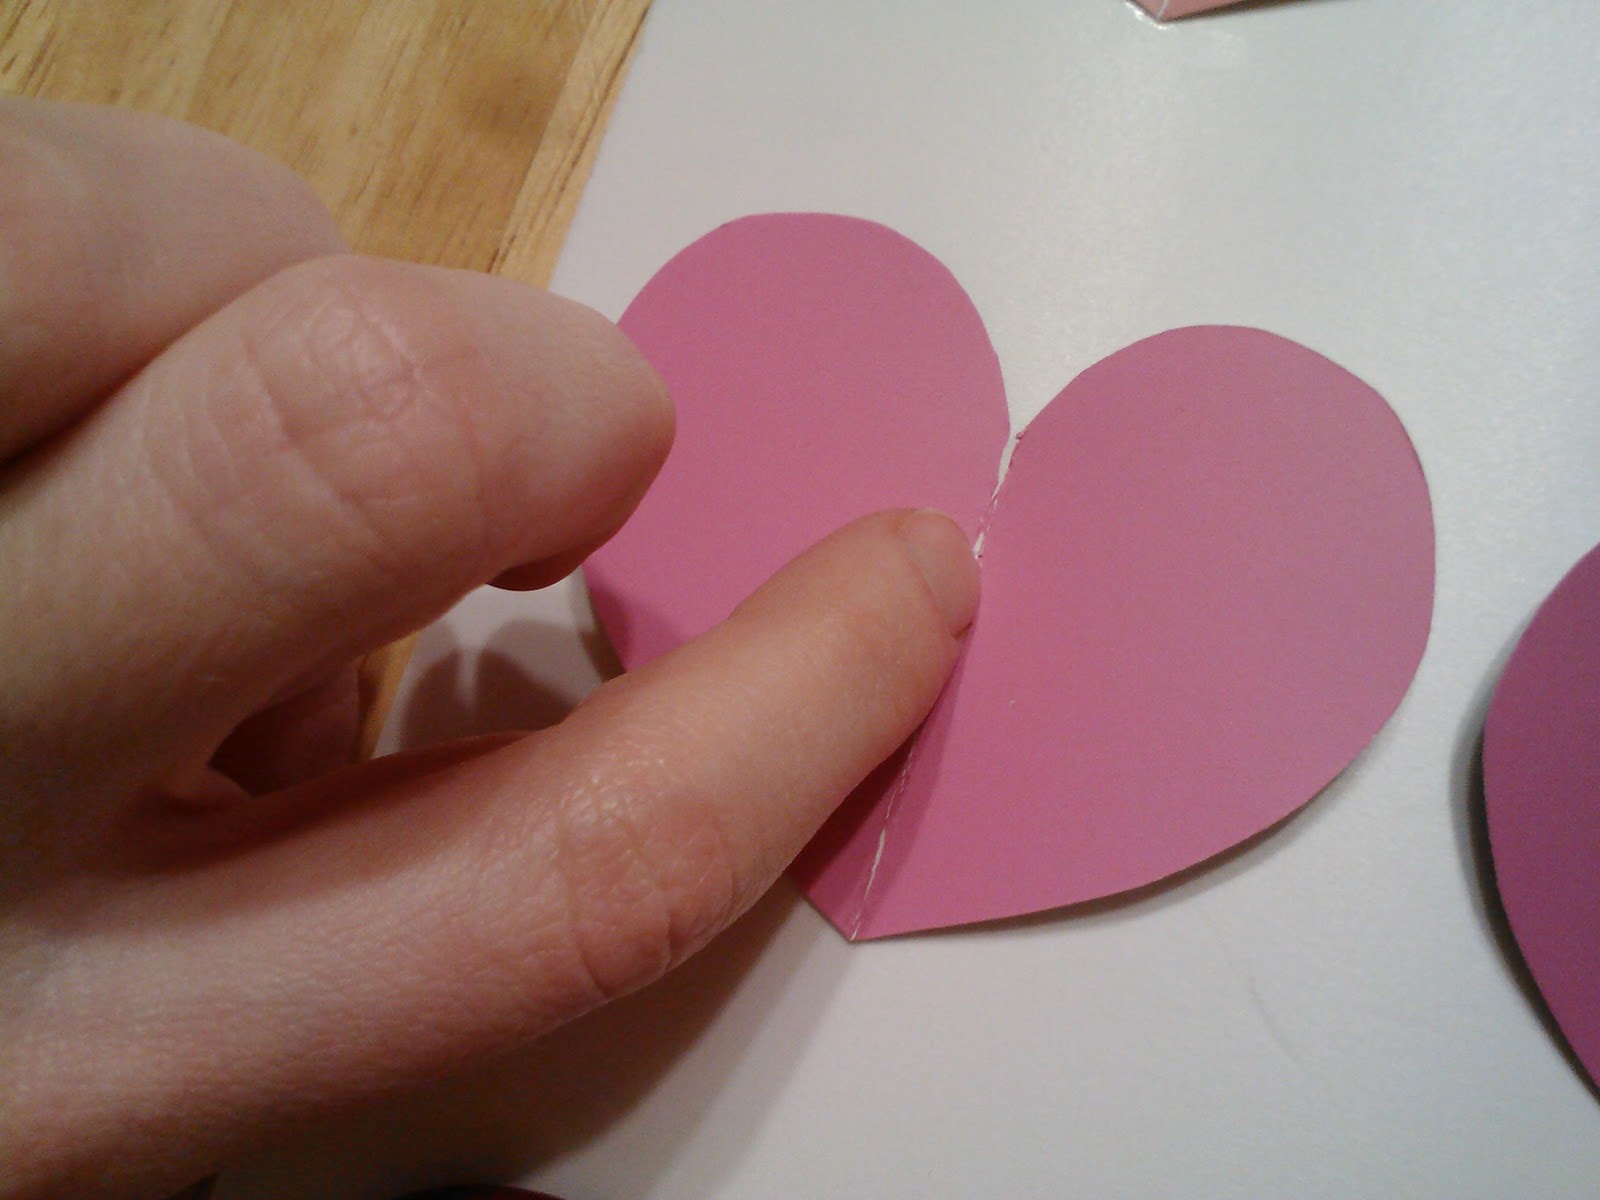
First you'll want to figure out how many hearts you want, this will determine the size of your hearts and the amount of rows/columns. Once you've done that you can get started by cutting out your first heart.
I always cut my first of anything a little bit bigger than I want just in case it ends up looking a little funky, that way you can always trim it down to make it look better.


You'll use your first cutout heart as a guide for your other hearts. If you're smart you'll just trace and cut, but if you're like me you'll hold the first heart against the other folded papers to cut them all out and then realize "This could have been SO much easier."

After you cut all the hearts you want, arrange them in the manner to which you would like them permanently attached to your background. Try to stay in the same level of color saturation for each row, progressively getting lighter, and it'll turn out great.

When all of your hearts are just how you want them, start gluing them down. I started at the bottom and made that row as straight and as even as I could without actually measuring anything (I'm lazy).

From there you'll want to do the top row as even as you can to the bottom. It's easier to line your middle hearts up when you have a top and bottom guide to work with; unless you measure, this will be your best bet.
You've got all of your hearts glued to your background and you're done, or you can put it in and glassless frame and your done! Either way it's a cute, simple, EASY way to add a little love to your home.

Hope you enjoy!
~Allison
No comments:
Post a Comment